Installation
Note
To install the University Linux Desktop system you need to be a member of iSolutions staff (i.e. in the ‘jfStaff’ group). We are working on a way for anybody to install Linux desktops, but this is not yet available.
Before you begin
- Ensure that no USB hard drives or thumb drives are attached
- Ensure that no non-standard devices are attached by USB or otherwise
- Check for second or third hard drives. These should not be wiped, but if they contain data customers want, best practice is to disconnect them first.
- Make sure the PC is set to BIOS mode (not UEFI)
- Ensure Hybrid graphics are disabled, if offered
Start the installation
Turn the computer on and select network boot (PXE boot) as it starts. When prompted, press F12 to start the network installation system:

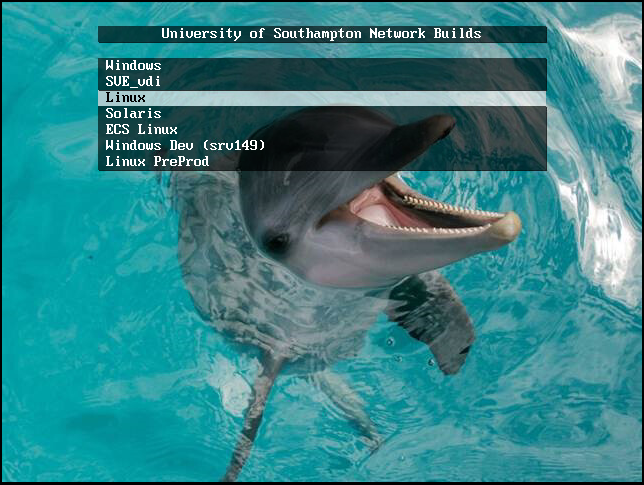
The network build menu should then appear, choose Linux:
and then on the next menu choose Linux desktops:

Finally, choose Linux Desktop 7:

You will be prompted for the Linux build password:

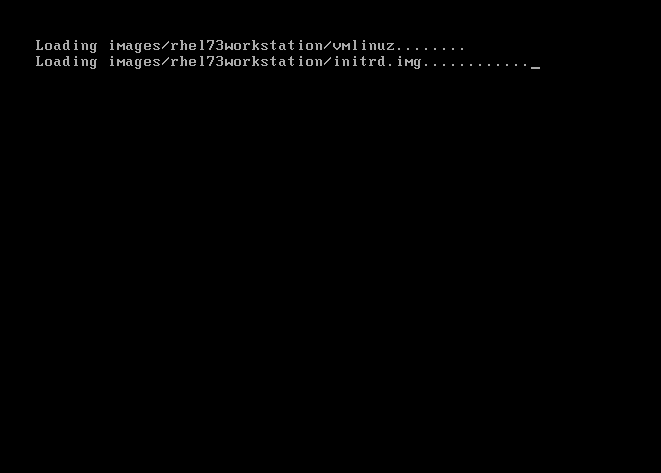
If the build starts you’ll see a loading screen like this one:
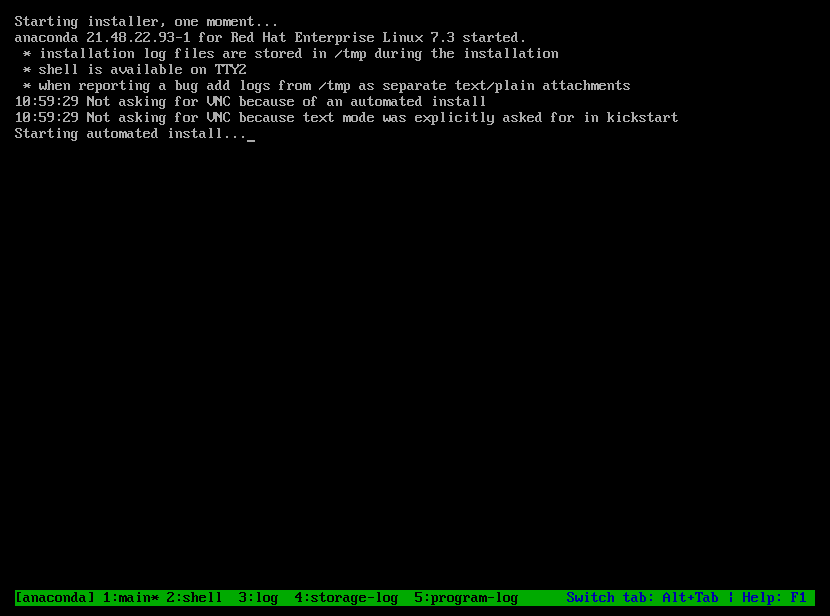
Followed by the Red Hat installer running automatically:
The installation will take between 10 and 20 minutes. During this time you don’t need to watch the computer, its fully automatic.
University installer
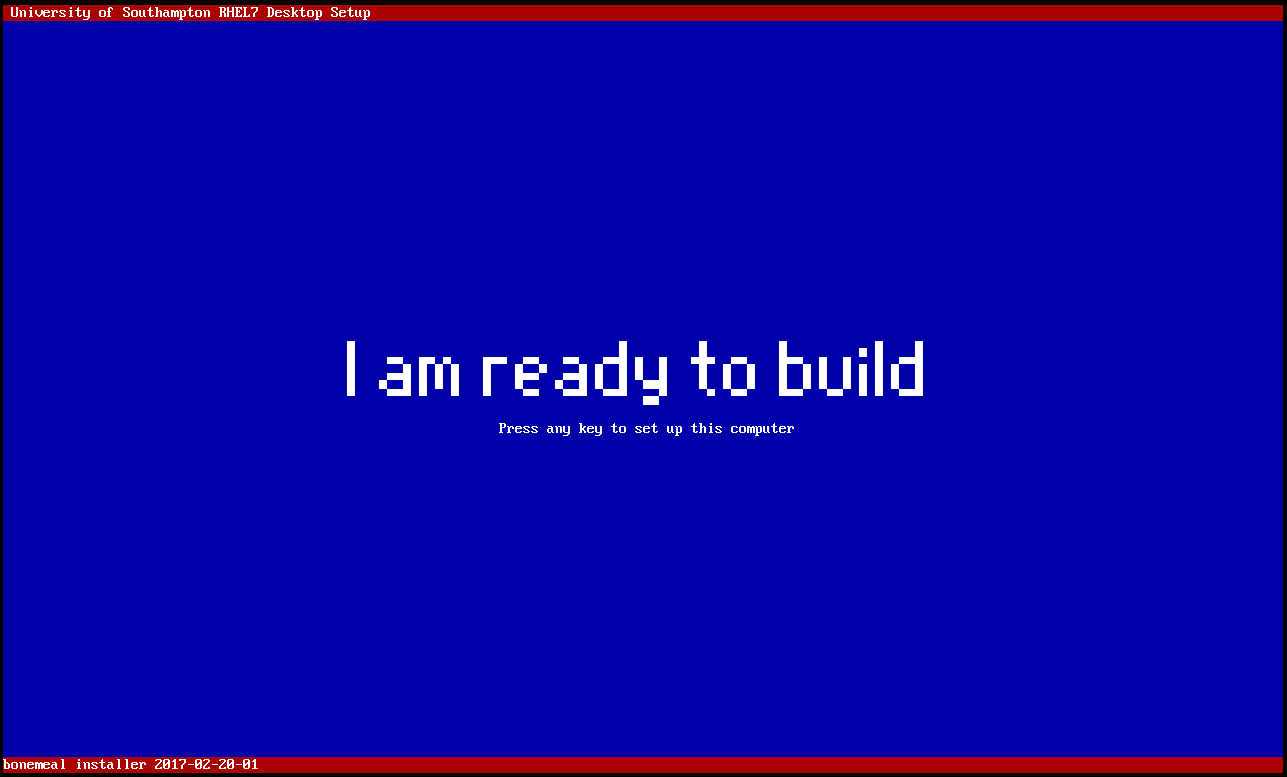
Once the Red Hat installer is finished the system will reboot and it will display a message telling you that the University installer has started and is ready to be used:
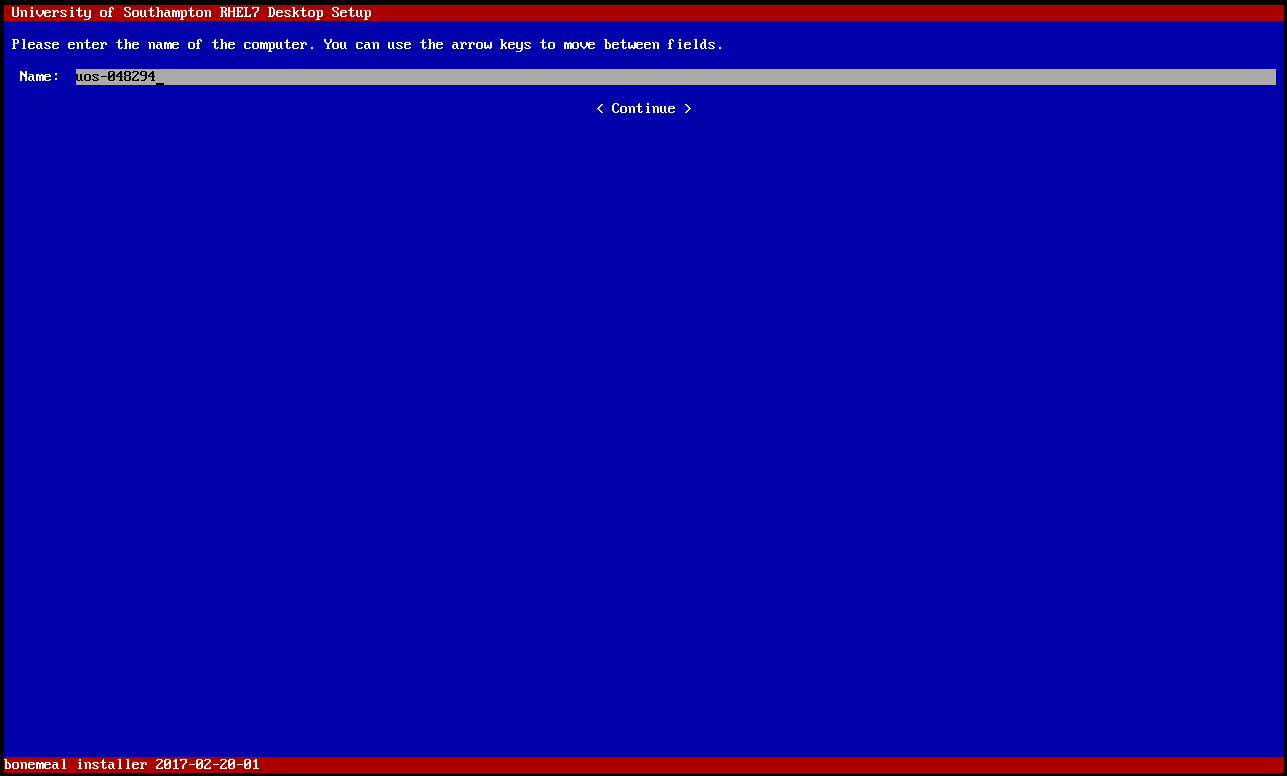
Press any key to start the installer and then enter the computer name if it was not automatically detected:
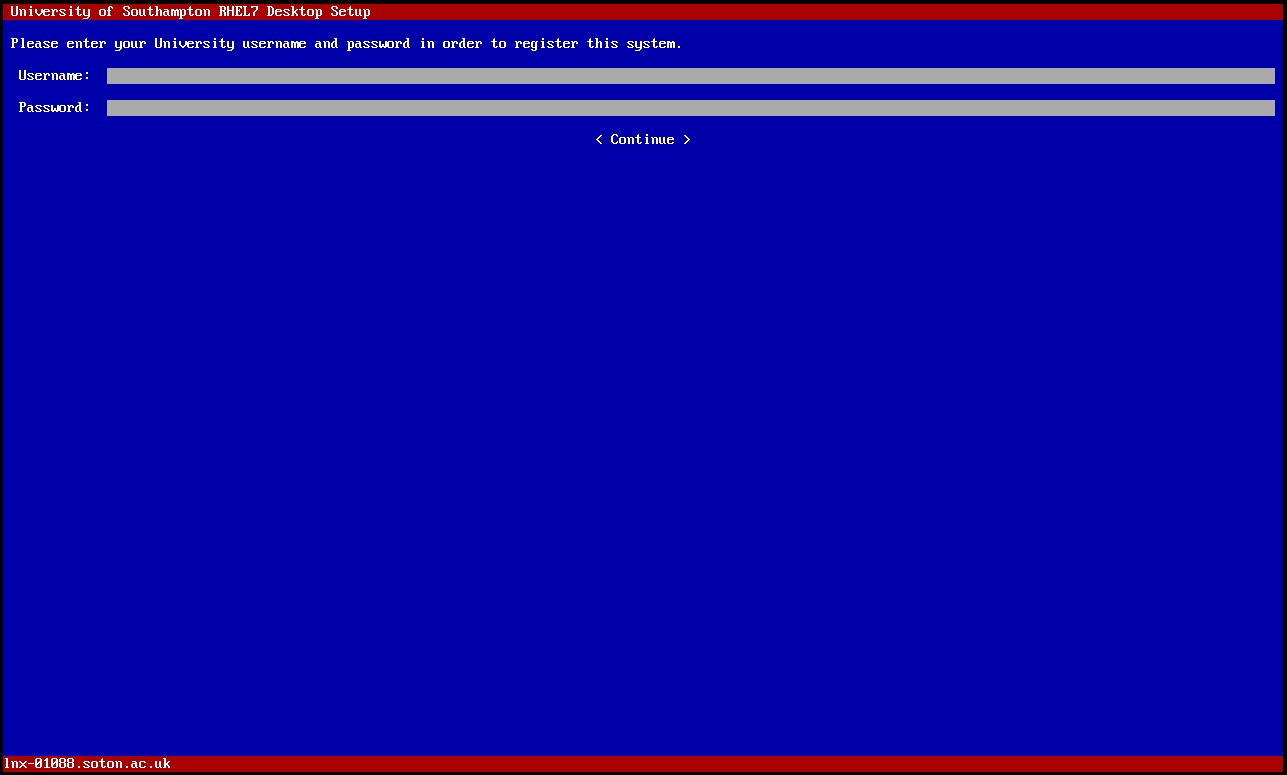
You then need to enter your university username and password. The account must
be within the jfStaff group - so don’t use adm accounts, use your
normal account.:
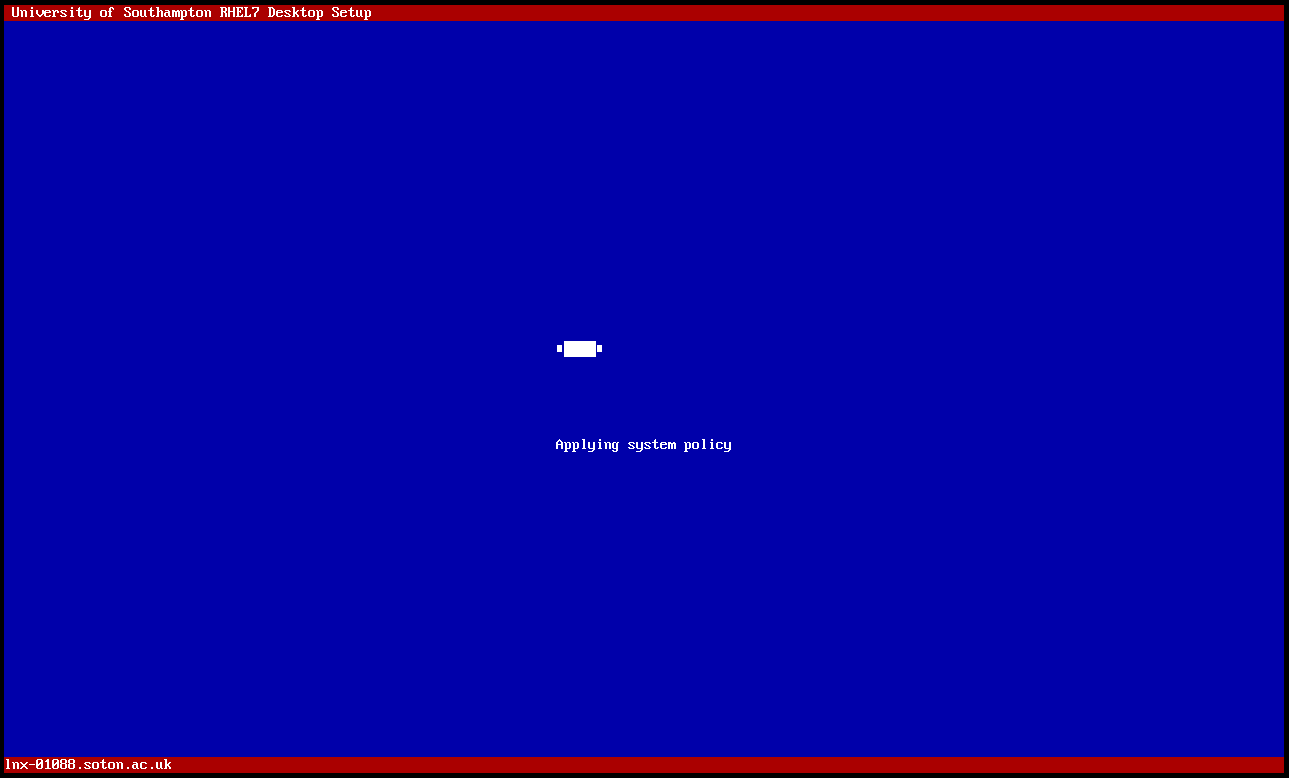
The University installer will then complete all its tasks automatically without requiring any further input. It can take between 5 and 15 minutes for this to finish, dependening on the speed of the hard drive:
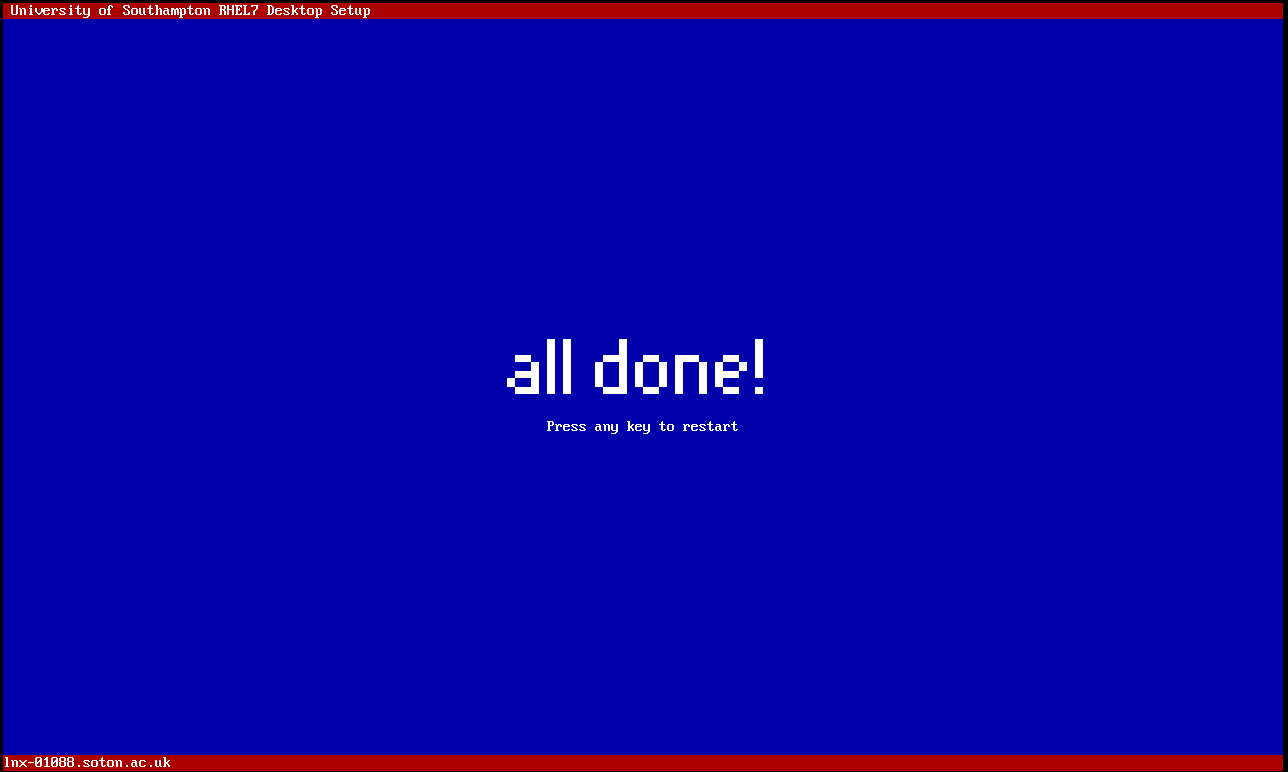
Once complete the installer will show “all done” and you can restart to use the new Linux desktop by pressing any key:
Post-installation tasks
Once the system has rebooted you might want to grant additional permissions
to the user for whom you built the workstation for. To do so, logon to the
system and use Desktop Manager to change Permissions. Your account
must be within the linuxadm or linuxsys Linux groups to do this.